Given that we’ve blognamed* our second child “Bee”, I thought I should make a little baby bumble bee outfit for her.
I used a store-bought size 000 infant bodysuit (or you might call it a onesie) on sale for $4.80.
I found some black knit fabric in my upcycling fabric stash. A few snips with the scissors, a tad of pinning, and we have the word “bee” ready to be sewn on.
Using black cotton, I sewed around each letter using a long wide zigzag stitch.
Next came some stripes around the bottom half of the suit, wrapping around both front & back. I left the edge of the legs and the bottom clasp areas free.
Flip it over, and sew some wings on he back. The ribbon is the same pale yellow as the suit, with metallic silver edging. I narrowed the zigzag stitch width so that it would fit within the ribbon’s width.
I tried pinning this first but I couldn’t get it to look right. So instead I removed all the pins and just winged it. (Teehee.)
And there you have it! I should probably now make a headband with baubly bee antenna on it… 🙂
As you can see, this suit has lots of lovely character-adding flaws. The black lines didn’t end up perfectly straight. The edges are all zigzaggy. The wings are just sewed on ribbon, rather than some sort of spectacular wing stuff. But I think these all work together. This screams home-made. I mean after all, if you want a perfect bee costume, you could just jump on the Internet and order some nylon made-in-a-sweatshop thingy for $20. But where’s the fun in that???
Image Source
xxx Danya
*I just totally made the word blognamed up to mean the nickname you give your child on your blog. If it catches on, remember that you heard it here first! 🙂
I had to think about this for a little bit. I know what I like, and I know what I don’t like, but it’s not often I’ve thought about “my style” in an elevator-pitch-esque summary.
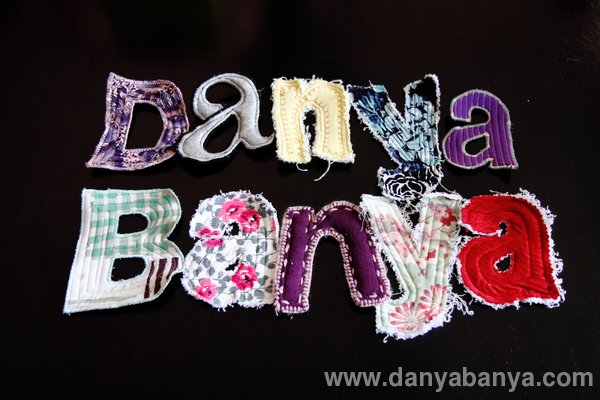
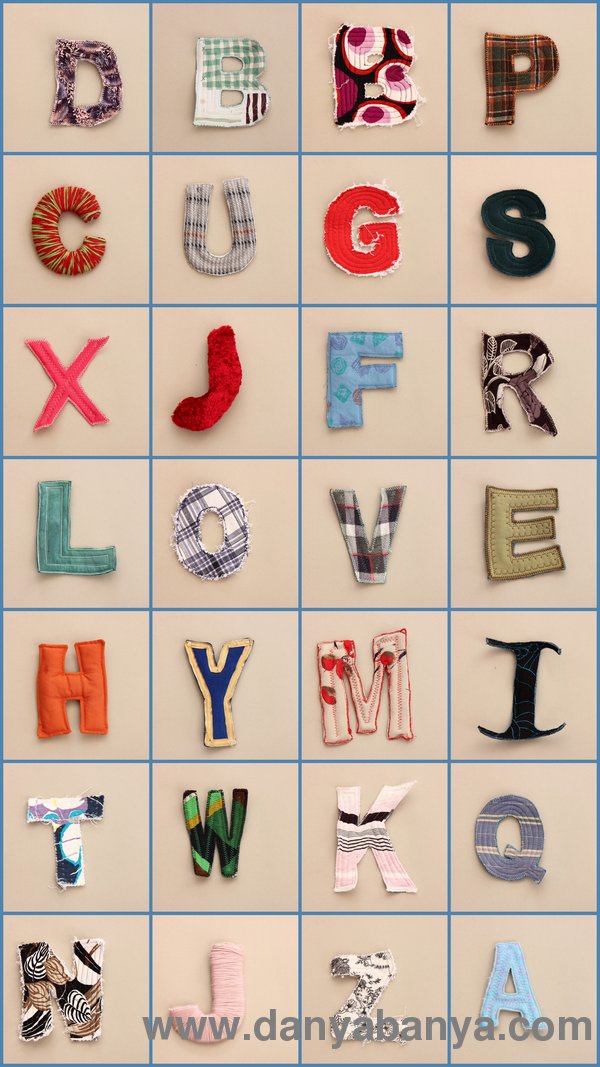
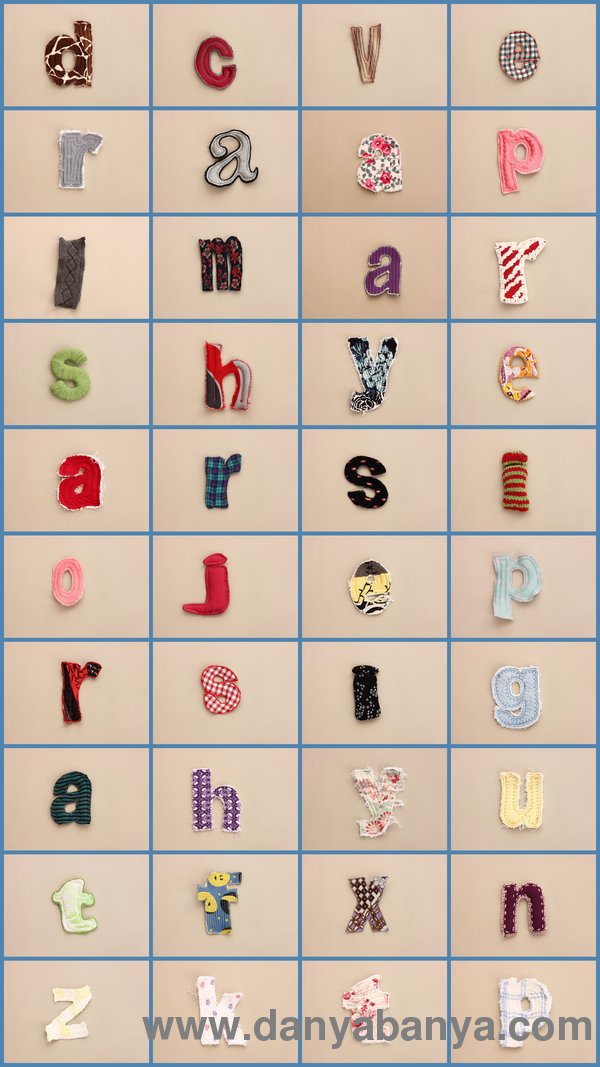
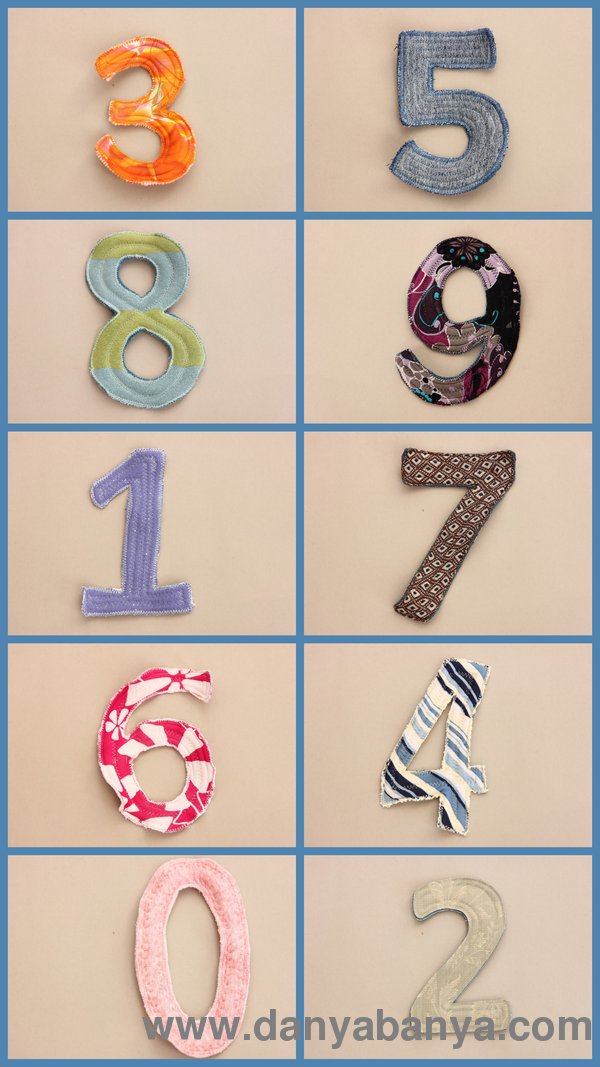
My answer (which was a winner btw – thanks Trish!) is that my style is “flawed, yet cute & colourful, with lots of handmade touches.”
Long time readers will have heard me talk about my love of flaws before.
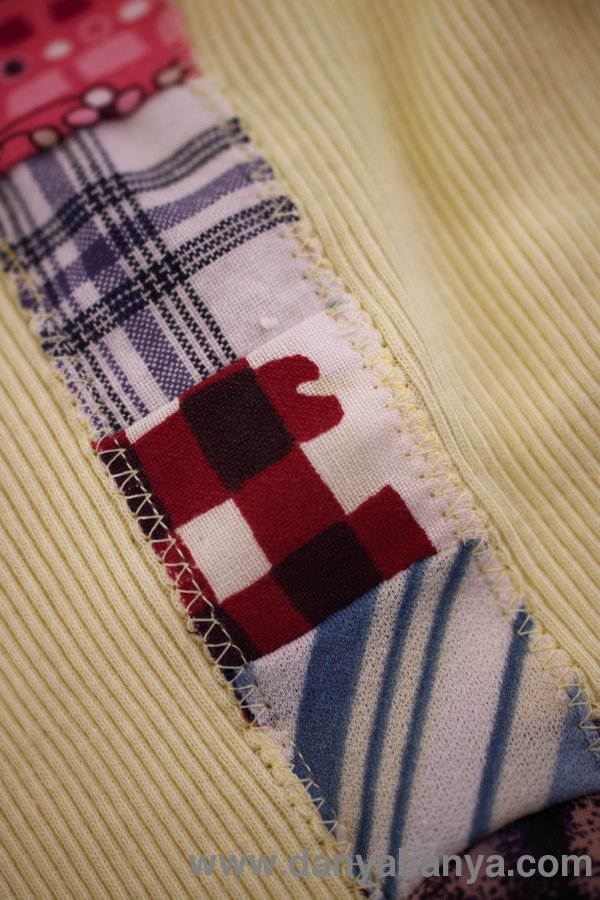
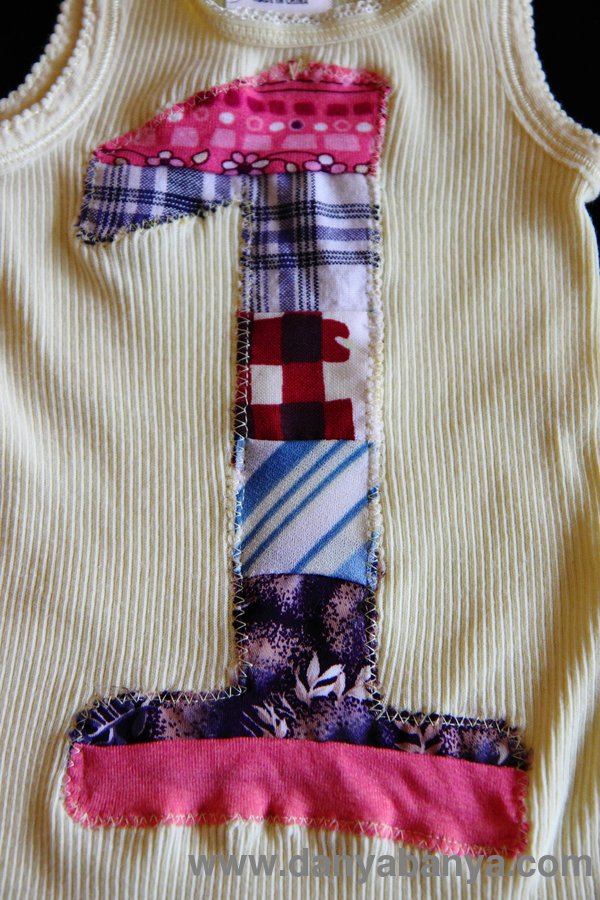
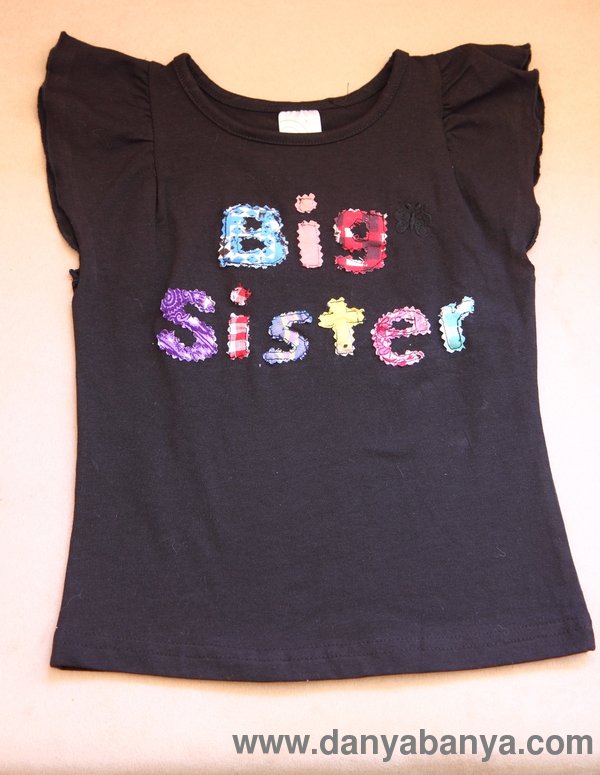
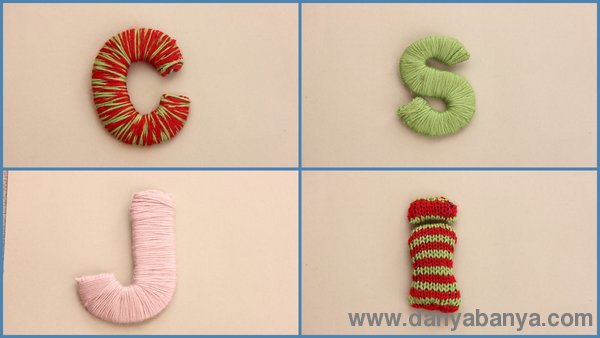
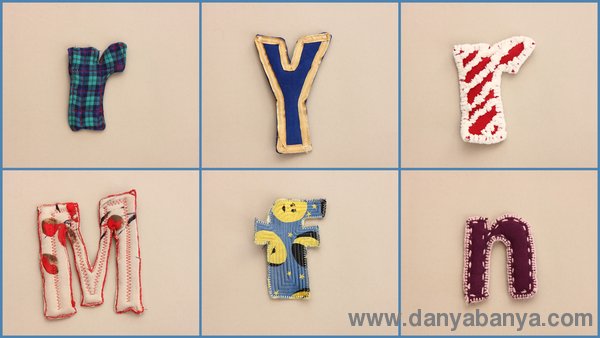
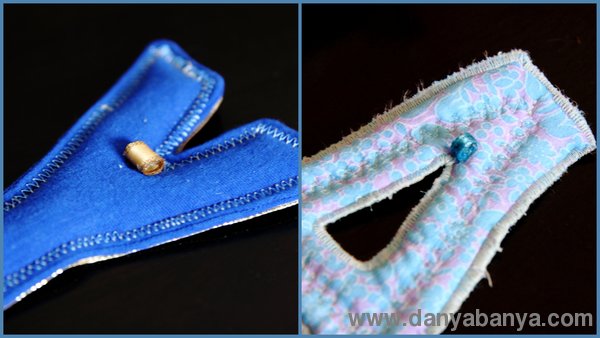
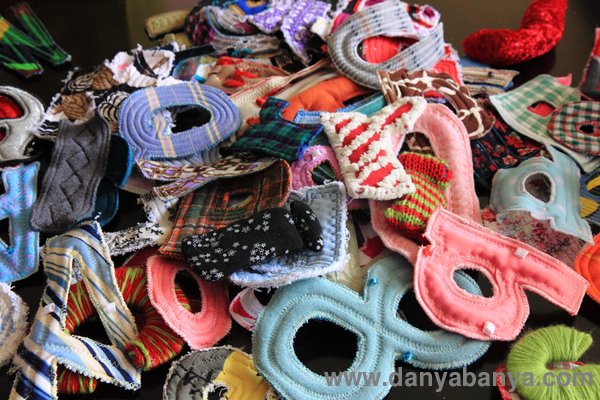
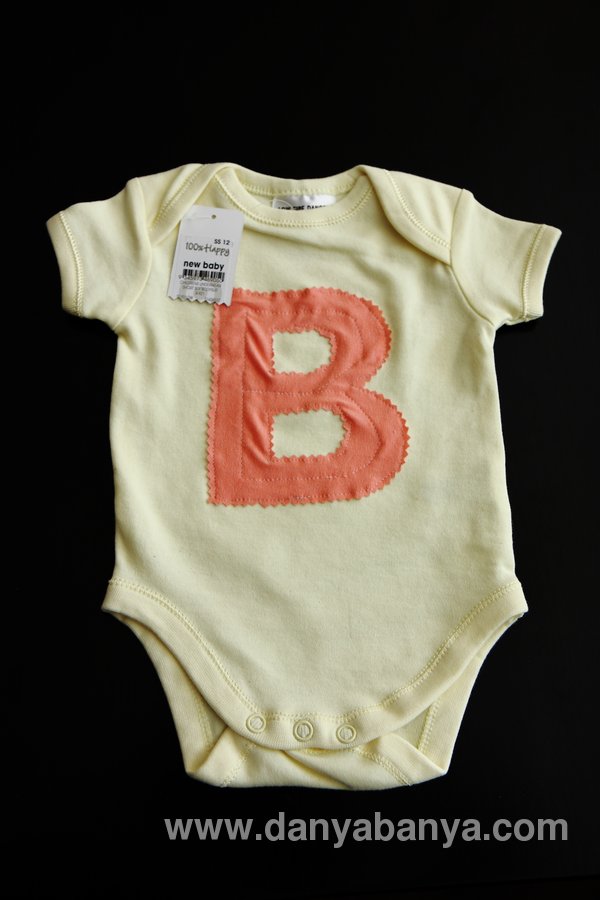
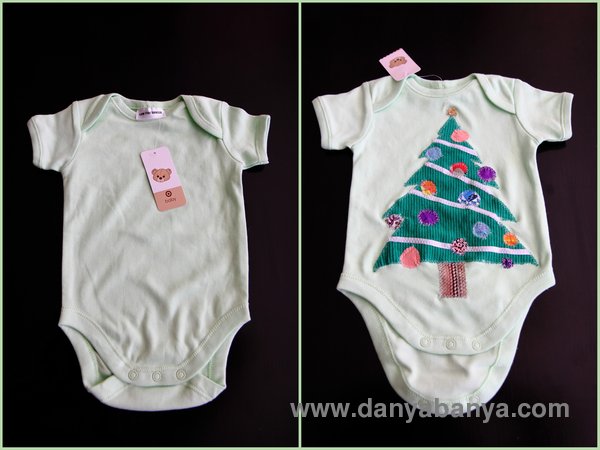
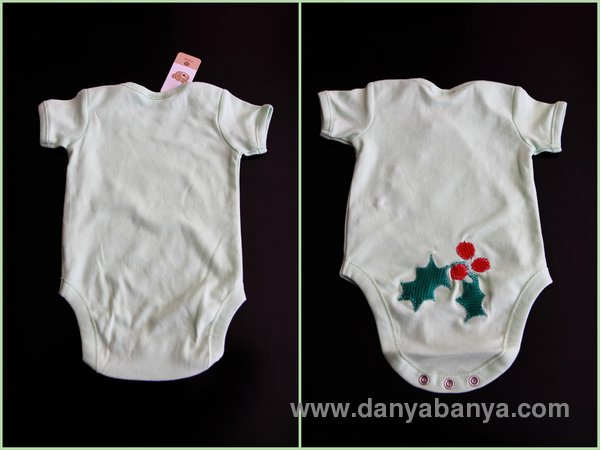
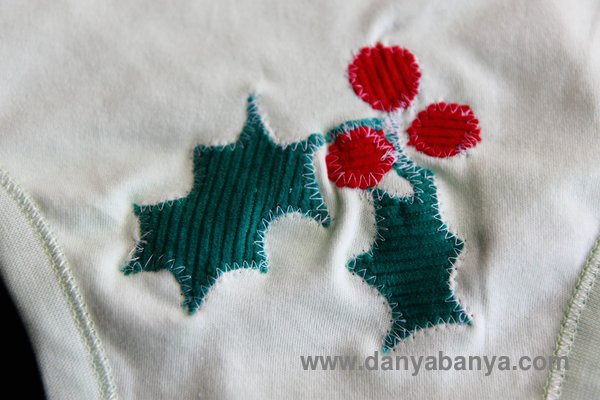
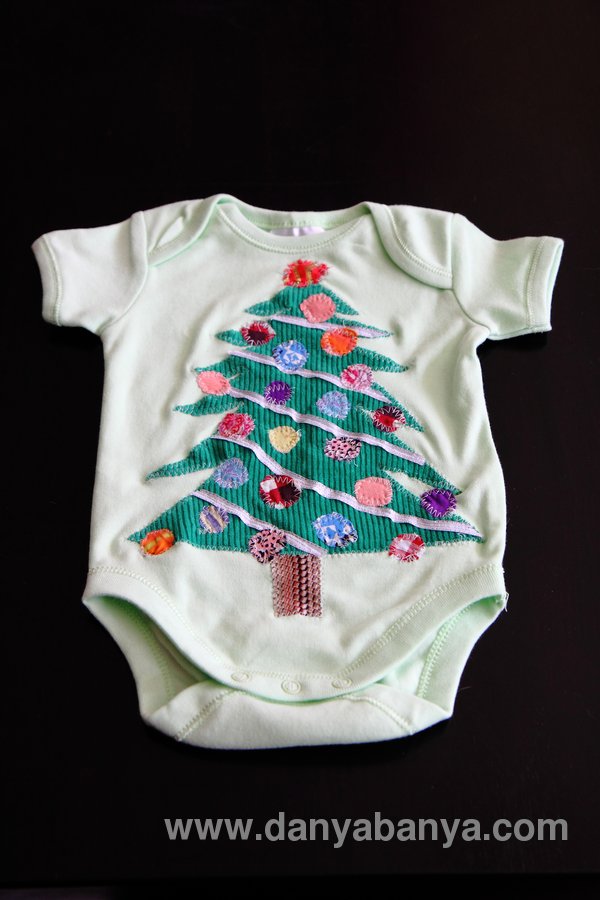
“Can you see all the areas where I haven’t been too careful with my stitching? I encourage you to please notice the little flaws. I am a firm believer in allowing little flaws in home-made or upcycled things. The benefits are two-fold – firstly, it allows the maker to have more fun, take more risks, and try new things with their sewing or craft. And secondly, the little flaws (the ones that add charm) are how you can tell something is homemade or upcycled. So many things these days are too perfect. The little flaws are where all the love is.”
I love little flaws. Not big ones that ruin a project. But little ones. Gorgeous little ones. Little flaws that add quirkiness, charm, homeliness and personality.
Until recently, I’ve mostly ignored style. We’ve moved too often to bother with adding flair to our various residences. Work wise my hospitality background dictated strict corporate attire (no sling backs, let alone dangly earrings!). A fairly big phobia of clothes shopping & spending money has kept my non-work attire minimal. My confidence was weakened by other people telling me (with the best intentions) what my style should be. So I put my head in the sand and ignored style advice altogether.
But lately I’ve been spending a lot of time thinking about the decor, clothes, accessories that make me happy. About the formation of my own style. It’s quite exciting.
I’m going to make over my entire wardrobe, bit by bit. Decide what can stay, what needs to be refashioned, what can be upcycled, and what needs to be added. It’ll be a long process, as I’m quite deep in my fashion rut. But it’s time to start digging my way out. I’ve got a bit of pregnancy weight to lose before I make too many major additions, but there are loads of little changes I can make now to my current selection to make them work better together.
Same goes for our house. We’re renting at the moment, so major changes will have to wait until we buy again. But there are lots of little changes I can implement to make what we have work better together.
So tell me. What’s your style? Can you define it in an elevator pitch sentence?
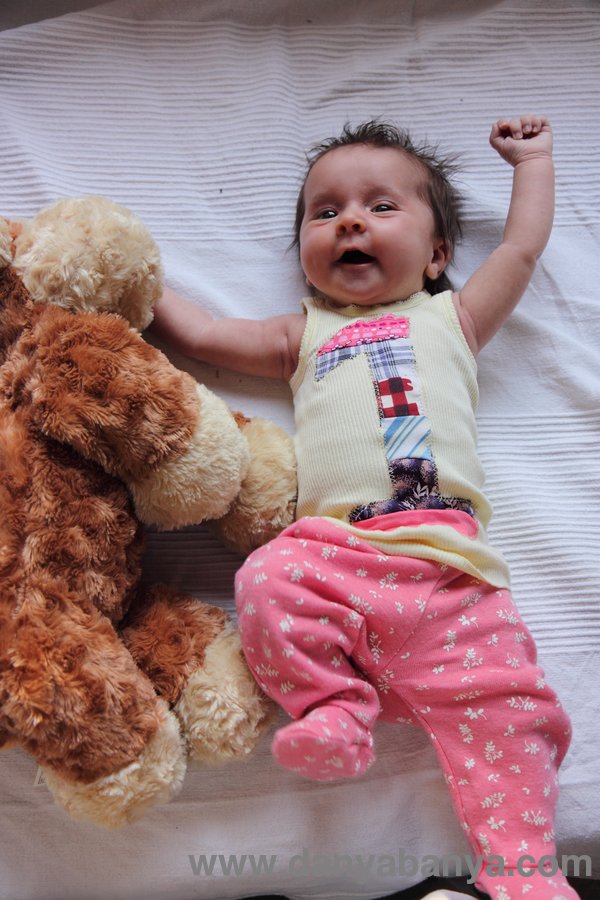
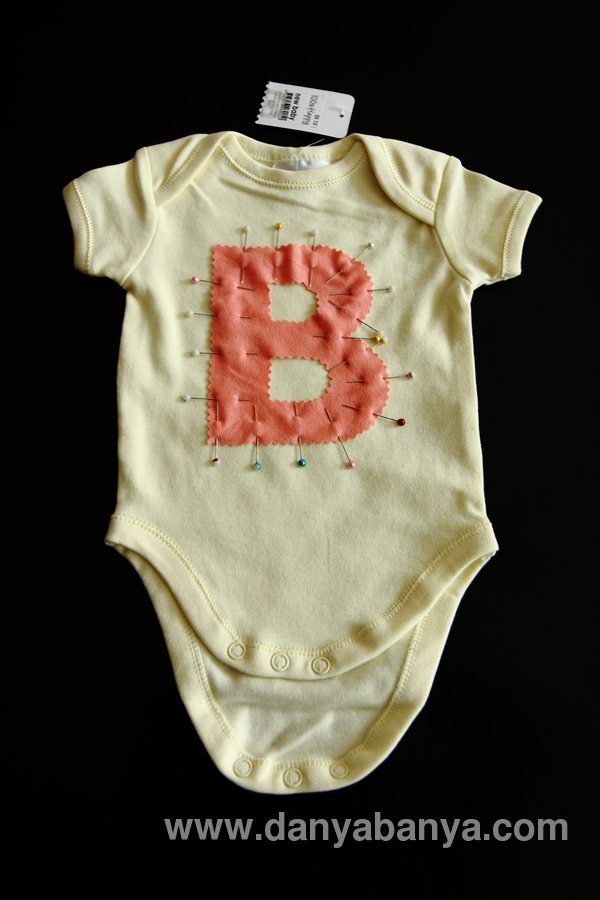
(BTW – This blog post started out as a tutorial on how to make a bumble bee baby outfit. I guess I digressed! Bumble bee onesie tutorial coming tomorrow. Or the day after. That’s the beauty of having a self-indulgent blog. 🙂 xx Danya
(This post is not sponsored. All opinions are my own.)
Are you new here? If you’ve just found my blog, be sure to subscribe via Email or RSS Feed, or to “like” the Danya Banya Blog Facebook page, so that you’ll get all my tips and rants on parenting babies and toddlers, sewing, crafting, wholesome cooking, photography and lots more!
I made this “1” singlet to celebrate Baby Bee’s one month birthday milestone.
The base is one of JJ’s hand-me-down size 0000 yellow singlets.
I used the “1” template from my fabric numbers. It is a little large for a newborn’s singlet. I debated whether to reduce the font size. But I have in mind to create a numbered top for Bee every month, with the number being the same size to show proportionally how much she’s grown, and she will grow into this font size soon enough.
I searched through my fabric scrap collection for odd fabrics of differing colours & patterns, and sewed them together into stripes. Then I traced the number one using the template, cut it out, and pinned it on. Using a pale yellow thread, I sewed it on with a long straight stitch, trying not to stretch the fabric as I sewed. Then I sealed the edges using a long wide zigzag stitch.
And here is little 1 month old Bee totally rocking it!
(This post is not sponsored. All opinions are my own.)
Are you new here? If you’ve just found my blog, be sure to subscribe via Email or RSS Feed, or to “like” the Danya Banya Blog Facebook page, so that you’ll get all my tips and rants on parenting babies and toddlers, sewing, crafting, wholesome cooking, photography and lots more!
I had so much fun making this, that I actually made two! One for baby Bee, and one for my friend who was also expecting.
I followed this excellent crib mobile tutorial from Sew She Sews (with a few tweaks). Except that ours are hung above the change table instead of above the cot. Something pretty (and high contrast) for them to look at whilst getting their nappy changed….
Here’s how I did it.
First up, I ordered in some sewable iron-on adhesive, a size 7 embroidery hoop, some jewellery connector rings, some large keyrings and some double sided thin ribbon from eBay.
(With a toddler in tow, it’s just impossible for me to go to a haberdashery store without either scolding looks from the staff as JJ pulls everything off the shelves, OR scolding looks from the staff because of the resulting tantrums from me trying to keep her from pulling everything off the shelves. Not worth it. Online shopping is gold! )
Next I used the lid from an Ocean Spray bottle to draw circles onto the iron-on adhesive. I just kept going until there was no more adhesive left – about 100 circles roughly. Then I cut around each circle really roughly, making sure to leave at least a few millimetres.
I selected some random fabric scraps in a variety of colours and patterns. The smaller pattern worked best, as each circle is quite small so larger patterns would get lost. I cut the fabric roughly into little squares in multiples of 2, and ironed on the iron-on adhesive circles.
And yes, because I’m a clutz, I did accidentally iron the wrong side of one of the circles. It was super easy to clean. I just let the iron cool, then rubbed on some white vinegar with paper towel and it came off almost instantly.
Anyway, once my iron was clean again, I finished the rest. Then I carefully cut around each circle, and stood back to admire my handiwork. They look good, no?
Here they are, all cut out, with adhesive on the underside.
I cut the ribbon into 8 pieces per mobile, each piece about 70cm (27 inches) or so long. I used pink ribbon for my friends mobile and white ribbon for Bee’s one.
Next I grabbed two matching circles, removed the paper backing, and ironed them together with the end of the ribbon in the middle.
Remove the backing to reveal the adhesive glue
Pop the end of the ribbon on top
Then sandwich the ribbon with a matching circle on top again, and iron the lot to seal.
Then leave about an inch or so gap, and iron on another circle, using a contrasting colour & pattern, and keep going up the ribbon until you have 5 or 6 circles. Once they were all done, I sewed down the middle of each circle over the ribbon underneath, just to make double sure that it was all secure.
I split the embroidery hoop into two pieces, one for each mobile. Then I pinned the ribbons on, varying the gap from the top circle to the hoop until it looked right. Play around with it a bit. You don’t want fabrics of too similar a colour or pattern to be close together. I swapped the different ribbons back and forth several times until I was happy with how it looked.
This is the point where I deviate from the Sew She Sews original tutorial, and also for each of the two mobiles that I created.
I’ll explain how I finished the one that I made for my friend first. Using a hot glue gun, I glued the (pink) ribbons around the embroidery hoop, doubling over onto the back of the ribbon about half an inch to make sure it was secure. I then cut off the excess ribbon, sealing the edge with clear nail polish or craft glue.
I then glued four of the ribbon offcuts to the embroidery hoop, and glued little loops on the ends. I also glued a piece of ribbon right around the edge of the embroidery hoop.
I tried threading each of the four ribbons through the keyring, but it looked strange. So, I improvised by using a weird ribbon loop to bring it all together.
To be honest, I’m not all that happy with how this bit turned out. But since you won’t really notice this bit when it is actually hanging, I’m OK with it.
Having hot glued my fingers together finishing the first mobile (ouch!), I thought I would try a “no glue” method for Bee’s one. Instead this time I looped the (white) ribbons over the inner embroidery hoop, and sewed as closely as I could.
Then, instead oh cutting off the ends of each ribbon, I measured out a further 12 cm (5 inches) and then sewed another little loop at the end. Each loop was allocated a split jump jewellery connector ring, (just like a mini keyring, about 8mm in diameter). Then the thee connector rings were threaded onto a large keyring, and a few more connector rings added to create a little chain for hanging.
I really like how these rings turned out, it looks quite polished. It’s hard to see the connector rings in these shot. I’ll take a better photo and pop it here in the next couple of days…..
If I were to do it again however, I would allow more ribbon between the last circles and the embroidery hoop, to factor in that the ribbons are being pulled up instead of down. A you can see, one or two of my circles are actually sitting next to the embroidery hoop instead of below it now. But overall, I don’t think this detracts very much, as the focus is on all the circles hanging below.
Here it is hanging above the change table in our “toy room”.
Out of reach of little hands. Colourful enough to keep both the baby and the toddler amused during nappy changes.
I started a series of posts entitled “Getting ready for the baby” in the last few weeks of my pregnancy. But Bee was born before I’d had a chance to post the last few… A month has past, and these drafts are still sitting there waiting to be posted. So bear with me whilst I meander back in time and share with you the last few posts in this series. (For new readers, here’s a recap of what was already posted in this series: sewing Fabric Liners for the chest of drawers, packing the Hospital Bag & what was actually used.)
This was one of the gifts we gave to JJ at the hospital after Bee was born.
JJ LOVES it. She put it on at the hospital, and refused to take it off for about 3 days. Such a proud big sister. She kept asking to wear “the top with all the letters”.
The plain black top I bought new for a few dollars – all it needed was a bit of jazzing up. I chose a simple font and printed off the letters, cut them out to use as templates. Then I cut out the letters from pre-washed fabric scraps using pinking shears to get a zigzag edge. (This gives a rag look, and also prevents fraying). Then I pinned and sewed using a medium straight stitch, being careful not to catch the back of the top as I went.
I’ve been sewing upcycled letters and numbers – lots of them!
My inspiration came from Happy Together’s Rag Quilt Letters Tutorial, where you can find templates and easy to follow instructions.
I started making them about a year ago, when I first decided to get all crafty and bought my sewing machine. They were a great first project – I could try out different settings, stitches and sewing styles, and any little flaws added charm rather than detract.
Several I made with terry-towelling as the middle batting. I cut the edges with pinking shears, and then washed to create a “rag” effect. I particularly like how both the ‘y’ letters worked out.
I also made lots with a polyester blanket as the middle batting, and a wide zigzag stitch twice around the edges. This created a much neater look, and was also easier and quicker to sew.
I also made some with polyester stuffing, creating a padded “stuffed toy” look.
And I used wool (yarn) for a few too. I knitted the “i” below. I wrapped wool around cardboard template, tucking in and gluing the edges for the “C”, “S”, and “J”.
And just for fun, here’s a couple I embellished with wool, ribbon, contrasting thread or close quilting.
Every letter and number is made from a different fabric, except the wool which I doubled up on slightly. Almost all the materials are recycled / upcycled – the only thing that was bought new for this project was the polyester stuffing, and the basic thread. Everything else was either materials I already had, old clothes that were unfit to donate, or fabric scraps sourced from Reverse Garbage. (Most of the pretty patterned fabrics came from Reverse Garbage).
On the back of each letter and number, I glued on ribbon loops, so they can be hung. To make the loops, I wrapped the ribbon around a straw and glued. For some letters, I glued on two or three loops, especially for letters like ‘d’ which can also be hung upside down to be ‘p’.
The overall project took me about 6 months, but I didn’t feel bogged down as each letter / number breaks it up into lots of little mini projects. I started off making the letters for “Merry Christmas” and then added the extra letters needed for “Happy 2nd Birthday JJ”, and then started to fill in the gaps, letter by letter, until I had a full set. I now have about 80 or so.
Here are all the upper case, lower case and numbers I can find. (There are a couple missing, which I suspect are at the bottom of one of JJ’s toy boxes somewhere…)
These letters and numbers have made an appearance a few times already. They look great hung up for Christmas and birthday parties! And I’m sure will be great when the kids are learning to read. I also still have the letter and number paper templates, and have used them for quite a few projects since. (For instance, I used the “B” here.)
A friend of ours gave birth a couple of weeks ago, to a gorgeous little baby girl. What a wonderful excuse to do a spot of sewing!
I didn’t have the materials (or frankly the sewing ability) to make something totally from scratch, so I popped up to the shops to grab two cheap little onesies to use as a base. They were on sale that day too. Don’t you love it when something you were going to buy anyway is on sale? Winning 🙂
I made a “B” onesie, as this is the first letter of the new little bub’s name.
I used a yellow size 0000 onesie. The salmon fabric was part of the bargain $5 green bag fabric stash I had bought from Reverse Garbage (and saved from landfill).
I used the same B template that I used for making my fabric letters. I traced out the B on the reverse of the fabric and cut with pinking shears (zigzag scissors), pinned and sewed using a medium straight stitch around the edges and also though the middle of the B shape. (Although if I were to make it again, next time I’d use a more decorative stitch for the middle).
The trickiest bit was making sure to not catch the rear side of the onesie and thus accidentally sew both sides together. I’ll admit I did catch the rear side once, but luckily I realised straight away and was able to back pick a stitch or two and keep going.
Once it’s washed, the pinked (zigzagged) edge should “rag up”, changing / improving the look.
Can you see all the areas where I haven’t been too careful with my stitching? I encourage you to please notice the little flaws. I am a firm believer in allowing little flaws in homemade or upcycled things. The benefits are two-fold – firstly, it allows the maker to have more fun, take more risks, and try new things with their sewing or craft. And secondly, the little flaws (the ones that add charm) are how you can tell something is homemade or upcycled. So many things these days are too perfect. The little flaws are where all the love is.
And for the second onesie, I made this wee little Christmas outfit.
This time I used a green size 000 onesie, which should hopefully be the right size for a 2 month old to start wearing around early December. The green corduroy was from a child’s overalls that were handed down for me to upcycle as they were now a decade or so out of fashion. The white ribbon “tinsel” I had bought as part of a bulk ribbon purchase off eBay and the rest of the fabric were scraps from recent projects that I compulsively save. The star on the top is two little triangles of gold ribbon sewed together.
I used a large zigzag stitch. I sewed on the outline of the tree and the stump first, using pale green cotton. Then I sewed on the white ribbon tinsel using white cotton. Then I switched back to the pale green cotton to sew around the little coloured circles. Again the trickiest bit was not accidentally catching the rear of the onesie. Constantly turning the material to sew around the circles was a bit fiddly too.
Then I flipped it over and sewed some holly on the bottom.
Again I just used a simple large zigzag stitch and sewed around everything individually.
Here they both are, wrapped lovely and ready to pop in the post. I used some of JJ’s art as wrapping paper and card. The paper is just two of her paintings on recycled paper, and the card is something she made at playgroup one day. I’m sure that my friend will love them much more than store bought stuff!
And because I fell in love with the little Christmas tree design, I just had to duck back out to the shops to pick up a new onesie to make for my very own bub-to-be! (Well, Bee was still a bub-to-be at the time 🙂
So, same concept. The only changes I made were that I made the star at the top out of a circle of red & gold ribbon (which actually didn’t turn out as well) and I sewed a smaller zigzag stitch for the tinsel. Oh and of course the placement of the circles, simply because I didn’t plan either of them.
And here it is flipped over.
You can see some more pics of Bee’s Christmas onesie in action here.
I’m toting this beige and black OiOi Australia nappy bag as my “handbag” at the moment. I picked it up for $40 from a garage sale a few months ago. I love the bright orange lining! And it’s large enough to tote around all the things you need when you have a 2 year old in tow.
Turquoise eel skin wallet (purse) – a birthday present from my mum, bought new off eBay. The eel skin is so soft and surprising durable.
Inside is my wallet is: drivers license; credit card; bank card; Medicare card; health insurance card; Entertainment Book gold card; Priceline card; JJ & my library cards; two expired Taronga Zoo membership cards; self-researched info on which additives / preservatives / artificial colours etc to avoid; pocket guide to buying sustainable seafood; pocket guide to safe eating seafood whilst pregnant; a couple of receipts that need throwing away; and cash.
Kindle (e-book reader) inside my home-made cover (tutorial coming later). Currently reading Book 1 of the Game of Thrones series.
Motorola Backflip android phone (with a cracked screen).
Notepad, two pens and four Crayola Washable Markers – this is the only type that I’ve found so far that are mostly non-staining. The first few pages of the notepad have been ripped out and are filled with the blog plan – only about half of the To Do list is ticked off so far. Various other pages of the notepad are filled with JJ’s scribbles.
A Huggies wipes box that has been refilled with Aldi wipes – I like the Huggies hard packaging, but prefer the Aldi wipes, as the Huggies ones rip too easily as you pull them out of the pack.
Huggies toddler size disposable nappy. I’m not brand loyal – we alternate between various brands, depending on what fits her best at the time.
“Circus Colours” by Beaver Books. This is a 4 page cardboard “book” that is blank when dry and colourful when wet, returning to blank when it dries again. We’ve used this so many times to keep JJ occupied for a few minutes at a restaurant table. She just dips her finger into her glass of water and starts “painting”. It was only about $10 or so from Riot Arts and Crafts and has been a real life saver.
Two large tubs of Play-Doh (purple and pink). This is a new addition to the handbag – why didn’t I think of it before though! Just last night this was brilliant at keeping JJ occupied at a restaurant, especially now that she is old enough to be able to use her imagination a lot more.
Lunch box with lots of crumbs from morning tea in the top sections. The bottom section has three muesli bars, a ziplock bag of puffed cereal (aka ‘popcorn’) and a set of Bunnykins metal toddler utensils, minus the fork that I left at a restaurant last week and haven’t yet popped back to pick it up.
An unused 100ml tube of Gaia Skin Soothing Lotion – JJ has dry skin, but refuses to put on moisturiser. I put this in my bag in a deluded attempt to moisturise her while we are out and about, which obviously hasn’t worked out the way I’d planned. Instead we’ve been adding Baby Oil to her bath and this has been working well.
A hot pink baby hair clip with non-stick grip glued inside (so that the clip will stay in her super fine hair) is randomly clipped onto the handbag strap. I might just leave it there so I have an emergency clip on hand…
A Mount Aqua bottle of water, refilled with tap water, is in one of the two outside pockets. The other outside pocket is currently empty.
Inside the “sealed section” (aka the zipper compartment that JJ doesn’t seem to know about yet) is: a comb; tissues; 50ml hand sanitiser (refilled from a larger bottle); tube of Bonjela teething gel; two little packets of Listerine oral care strips; tube of Paraderm Plus first aid cream (magic stuff – all in one antiseptic, anaesthetic and anti-inflammatory); a band-aid (plaster strip); Forehead thermometer; Children’s Panadol (paracetemol or acetaminophen) + dispensing syringe; and tube of apple-red lip gloss.
Here’s what’s inside…
All packed up again…
What’s NOT in my bag today? Ah, that’d be my house and car keys. They, unfortunately, are sitting in Nathan’s pocket, along with his set of keys. And unluckily today he had to go into the office, rather than working from home as usual. But it was a nice excuse to get a bit of gentle exercise, wandering around our neighbourhood this morning – especially on such a nice sunny Winter’s day.
And yes, I can close it. But most of the time I leave it open for easy access…
Which begs the question – what’s in (and not in) YOUR bag today?
(JJ does also have her own small backpack with emergency supplies, which lives in the car boot, or is taken whenever she goes out without me. The contents are intentionally very limited so that it is still light enough for her to carry. It has two disposable nappies, a Huggies wipes box, a couple of scented nappy disposal bags, a hand towel (that doubles as a change mat if need be), a pair of thick stockings, a long sleeve top, a sun hat and a sippy cup half full with water.)
(This post is not sponsored. All opinions are my own.)
Are you new here? If you’ve just found my blog, be sure to subscribe via Email or RSS Feed, or to “like” the Danya Banya Blog Facebook page, so that you’ll get all my tips and rants on parenting babies and toddlers, sewing, crafting, wholesome cooking, photography and lots more!