

You see, this all came about because Dyan from And Next Comes L kept sharing these amazing light table posts on my Facebook wall. I keep joking that she was going to inspire me to make a DIY Light Table for myself one day.
And so I finally did…
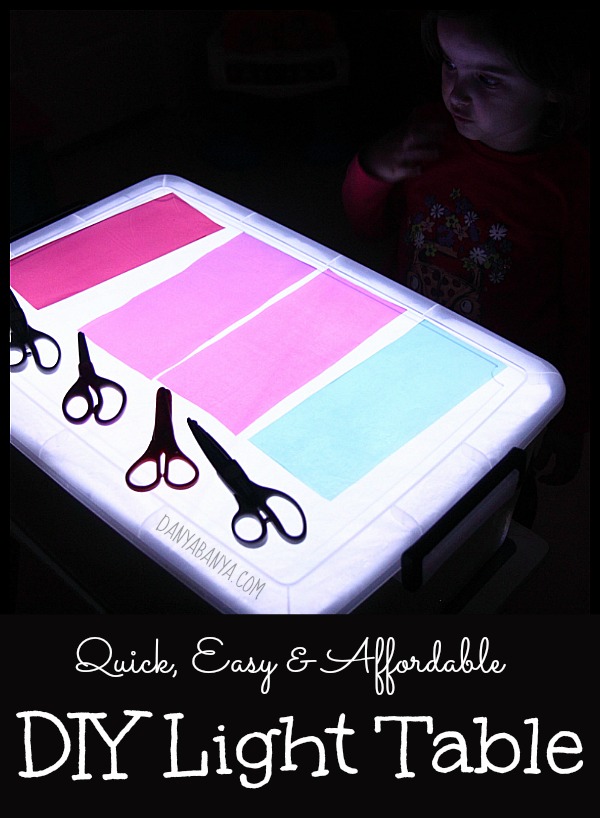
There are lots of DIY light tables and light boxes that involve paints, primers, drills, perspex and fancy electronics. My version is no where near as fancy. But it is quick, easy and relatively low cost. There’s a good chance you might have some of the items at home already, and the rest you should be able to get from your local discount store or online.
To make a DIY Light Table like ours, you’ll need:
- some sort of low under-bed storage box with a plain transparent lid
- basic kitchen aluminium foil (and yes, I seem to be on an aluminium foil roll at the moment…lol)
- clear packing tape
- white tissue paper
- clear Christmas lights with a thin electrical cord. (Some types of coloured Christmas lights actually use clear bulbs with a plastic coloured filter on top – these should also work if you remove the coloured filters.)
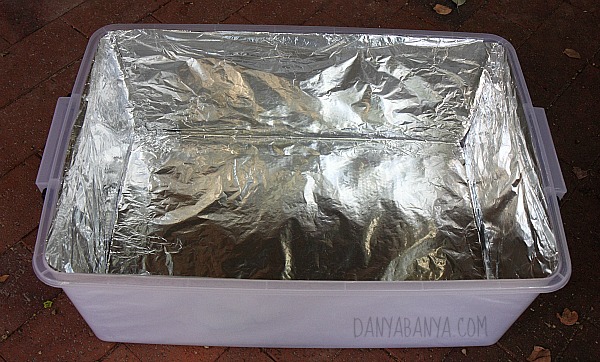
First, line the inside of the box with aluminium foil, shiny side up, using the tape to attach.
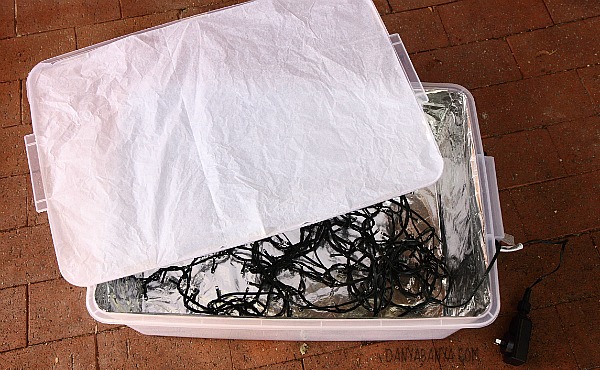
Then stick a sheet of tissue paper to the inside of the lid. Ours was recycled from old wrapping paper, so had a few creases and it still worked just fine. Put the Christmas lights into the box. (If you wanted to put your fancy pants on, you could cut a small section out of the top of the box to run the cord through. I didn’t worry about that though, as in our case the cord was thin enough that the box could still close easily with the cord hanging over the edge.)
Then place your light box on either the floor or a low table, and plug it in to check if any of the bulbs are broken. (Yay, it worked!).
And then it is time to turn out the lights…
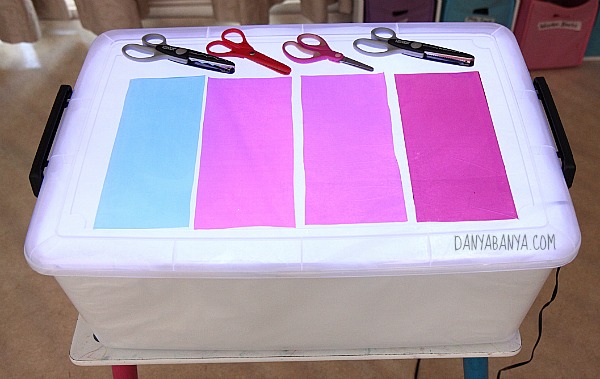
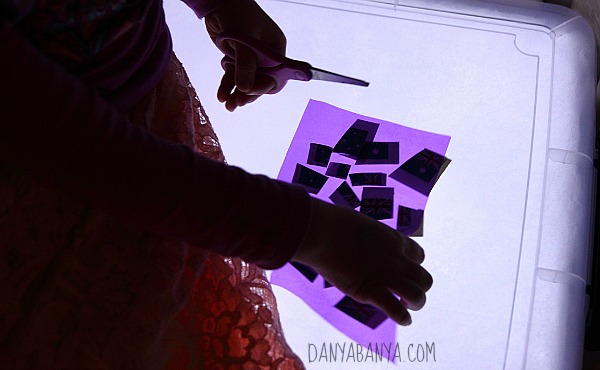
I chose a few coloured sheets of cellophane and some scissors for their first light table exploration. After a few safety tips regarding electricity, I let them play…
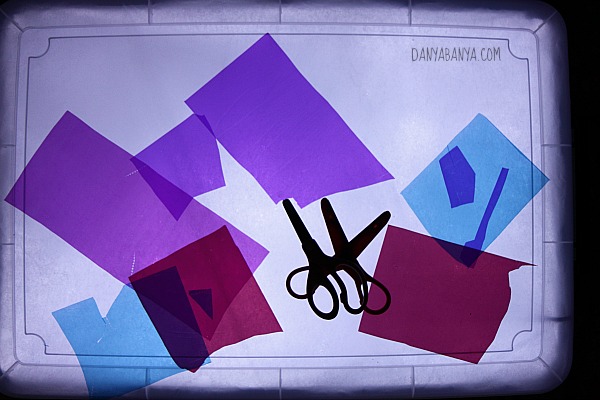
At first JJ tried cutting the cellophane with each of the scissors, and this was actually more difficult than I had realised. You can see the teeth marks in the cellophane above where JJ has tried to make cuts with the blunter ends of the scissors and didn’t have much luck. (She hasn’t had enough scissor experience yet to know that she could have just opened up the scissors to their sharpest point and let them glide through the cellophane instead).
Always the lateral thinker, JJ found some old Australian flag tattoos to cut up instead, discovering that their tacky surface sticks to the underside of the cellophane quite nicely.
I cut the rest of the cellophane up into little squares, and this added a new dimension. The kids explored colour combinations with these little squares, something they hadn’t tried yet with the larger pieces.
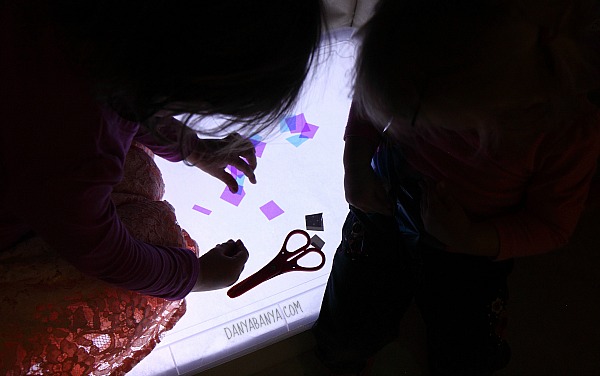
JJ is kneeling on the light table here – something which I don’t recommend as it could potentially crack the lid of the storage box. She knows she’s not supposed to get up on tables, but it’s hard to remember these things when you are excited and concentrating on new materials…
All in all I’m really pleased with how it turned out for such little effort. I’m so glad that I finally got off my backside and joined the ‘light table gang’. I can’t wait to use it again. So many ideas!!
xx Danya
* This post contains affiliate links. An affiliate link means I may earn a (tiny) commission or referral fee if you make a purchase through my link, without any extra cost to you. It helps to keep this little blog afloat. Thanks for your support.
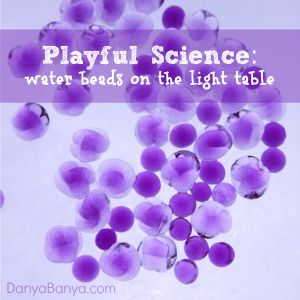
{Edit: since writing this post, we have indeed been loving the light table! Here’s a post where we explored water bead transparency and absorbency.}
#
This is so easy, I love it! I’m thinking of making one for home and school.
#
This looks great, we'll have to try 🙂
My recent post Make your own party hats
#
It turned out fabulous! So happy to convert you to my light table ways …muhahaha!
#
Thanks Dyan! I feel like I've joined a club 🙂
#
This is a club I would Love methinks. When you said, if you wanted to put your fancy pants on, I knew I’d stumbled onto the right site for me. You’ve got another one! : )
#
Very pretty, as usual Danya! I love the look on JJ's face. She is a thinking child 🙂
Julie
Gourmet Getaways
My recent post Chocolate Caramel Ombre Cake
#
That's neat!! 🙂 I bet we could make one of these. Now I have to go see if we have all the stuff 🙂
My recent post 5 Tips for Great Studio Portraits
#
I'm back, hah! My toddler saw this post and wanted to make one… so we did. Used colored Christmas lights, freezer paper instead of tissue paper, and it turned out ok 🙂
http://instagram.com/p/qwetFclLKc/
My recent post Charlie the Cavalier Puppet Activity + Book
#
Thanks Betsy, good to know. Happy playing!
#
GAH do I ever love this!!!!! I will be making this maybe tomorrow — and sharing on FB <3
#
Thank you!
#
You're a clever cookie. A lot of people will already have these things in the household to make one too. This would be cool to do an animal based puppet show too 🙂
My recent post Colour in a winter garden
#
I don't know if it would work sitting on it's side (like a light box) for puppets – I imagine the fairy lights would slide down and you'd have more light in the lower half. BUT if you taped the fairy lights to the bottom then it could work…. (Now you've got me curious, I'll have to play around with it tomorrow.)
#
I love Dyan's posts too! Thanks for the step by step – I had wondered about diffusing the light. Will definitely be keeping an eye out for the right box 🙂
My recent post DIY Frozen peg people
#
It's great! We've talked about making one for so long and I think our plans are too grand so it hasn't happened. Perhaps we need to create something like this in the interim!! Fabulous fun!
My recent post Gift Idea: Story Stones and Custom Storybook
#
I'm viewing this as a potential 'interim solution' too. (I love that I'll be able to reuse most of it if I do 'upgrade').
#
Oh this is great and works so well!!!! Thank you!!!!
#
Light boxes provide so many wonderful learning experiences and should be accessible to all. Thank you for this great post.
#
So cool!
My recent post Imaginative Play: Sand & Sea
#
Love it! Will be making as soon as I can find a box with a clear lid.
My husband cautioned me to only use LED lights, as the others get hot.
#
Thanks! And good tip from your hubbie. 🙂
#
Amazing idea! Thank you so much! Made one today. We had so much fun drawing and making collage from autumn leaves. The whole evening was very busy 🙂 Thanks again
#
Oh I'm so glad to hear that you made one and it worked! Yay! My kids love playing with it on rainy days. 🙂
#
Youse the battery lights to thay work as well save on electricity
#
Great idea!
#
#
Looks amazing! I know that it is used widely in preschool classrooms. I assume that the lights must be off for it to be effective. However, that will be disturbing to children who are playing in a different area of the room. Any suggestions?
Thanks, Helen
#
It still ‘works’ with the overhead lights on, but yes, it’s not as effective as when the room is dark. Is there a corner of the room that’s darker than the rest?